
Reinvent Everyday Plastics: Creative Upcycling with Packaging Films

Know Your Films: Materials, Safety, and Tools
Fusion Magic: Making DIY Plastic Fabric
Layering Strategies for Strength and Flex
Treat each layer like a structural decision. Stagger seams so they never align, alternating directions for stability. Thin inner layers provide cohesion, while slightly thicker outer skins resist abrasion. Transparent pieces create windows that help with alignment marks. Press in stages: tack layers lightly, cool flat, then finalize with smoother, longer strokes. If bubbles appear, prick gently with a fine needle and re-press with low heat. Keep a test swatch beside you to match thickness and drape consistently.
Color Play with Printed Graphics
Those bright barcodes, logos, and gradients can become intentional graphic design. Cut letters into mosaics, slice stripes for dynamic chevrons, or overlay faint typography beneath translucent film for a ghosted effect. Place high-contrast fragments where stress is minimal to reduce cracking. For subtle palettes, reverse-print sides often give softer tones. Consider translucency as negative space, letting background colors or incoming light participate. Finish with a clear protective layer to seal ink and unify sheen across different fragments and brands.
Seams, Stitching, and Repair Techniques
Once fused sheets are ready, treat them like unconventional textiles. Use long stitches and a walking foot if available, or pre-punch holes with an awl for hand-sewn details. Fold edges before stitching to fortify high-wear zones. For no-sew assembly, apply double-sided carpet tape between layers, then lock with a brief low-heat press through parchment. Small tears mend with matching patches and directional re-fusing. Keep scraps as repair kits, adding decorative topstitching that cleverly disguises reinforcement as characterful, intentional design.
Cutting Continuous Strips without Tangles
Flat Weave, Twill, and Bias Experiments
From Cordage to Handles and Hangers
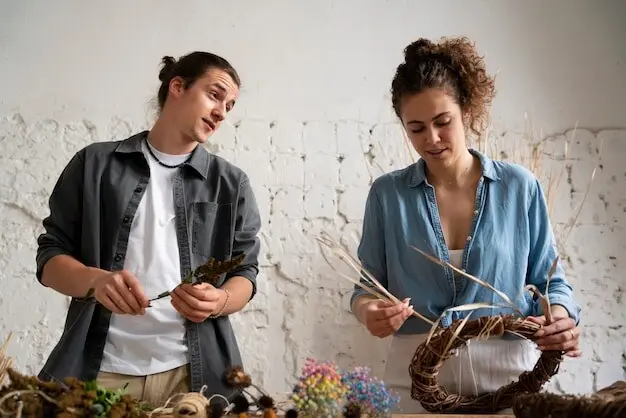
Weaving and Braiding Strips into Sturdy Forms
Design Ideas for Home and Everyday Carry
Kitchen and Pantry Helpers
Closet, Laundry, and Bathroom Solutions
Outdoor and Travel Companions
Artful Surfaces: Light, Texture, and Transparency
Luminous Lanterns and Window Panels
Textured Collage, Quilting, and Appliqué
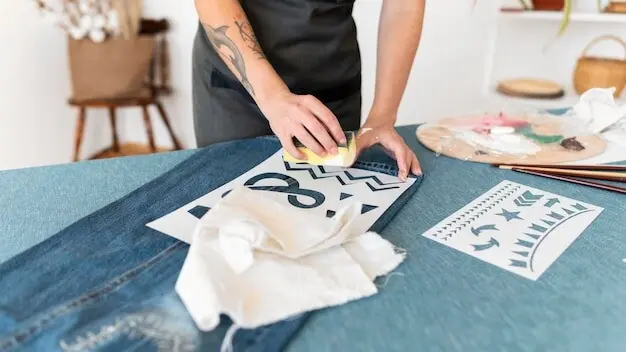
Printmaking, Stencils, and Embossed Relief
Community, Sharing, and Circular Impact
Host a Swap and Save Challenge
Measure What You Divert and Celebrate Wins
Join the Conversation and Inspire Others
All Rights Reserved.